【其二】SpringBoot响应式编程集成Elasticsearch
1. 前言
上次说到安装了Elasticsearch和Kibana,这次要说的是 SpringBoot响应式编程集成Elasticsearch
上一篇文章的地址:https://www.runnable.run/archives/-yi--chao-ji-feng-he-guai-zhi-shou-ba-shou-da-jian-ni-de-xiang-ying-shi-sou-suo-yin-qing-hou-duan-kuang-jia
项目我已经搭建好了,推荐大家先把项目拉下来跑跑,和下面的内容对着看会有更加深入的理解。
代码仓库:demo-springboot-elasticsearch
2. 如何把项目跑起来
代码下载之后,通过如下命令从Elasticsearch容器中复制http_ca.crt出来覆盖项目中elastic-search/http_ca.crt
docker cp elasticsearch:/usr/share/elasticsearch/config/certs/http_ca.crt .
然后在application-dev.yaml 中更改你的Elasticsearch的账号和密码,启动!
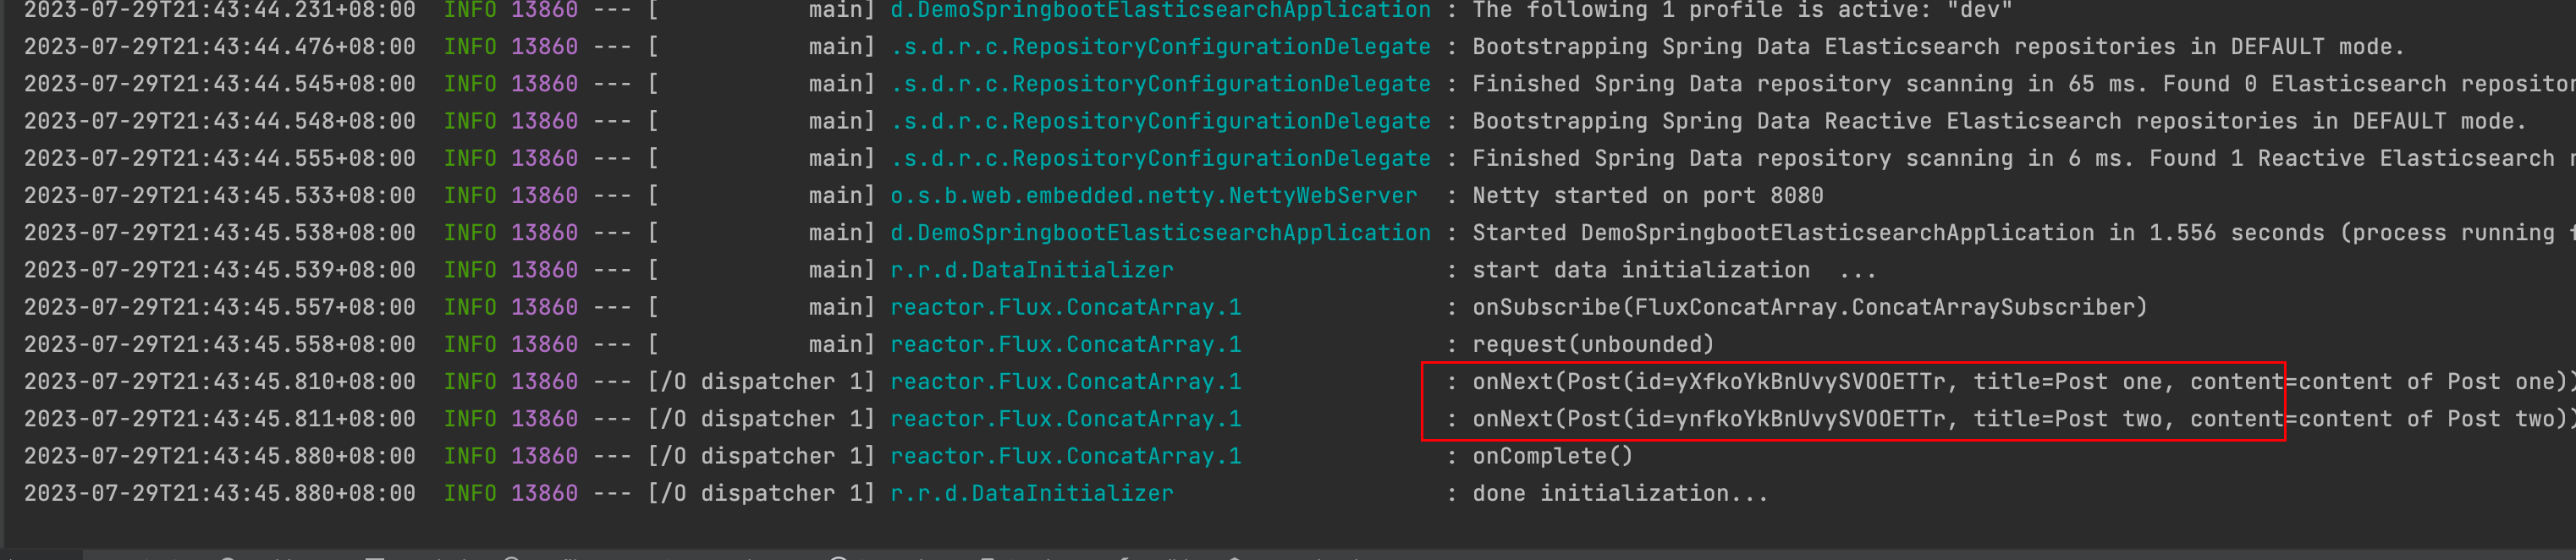
不出意外的话就会看到往ES中插入了两条数据。
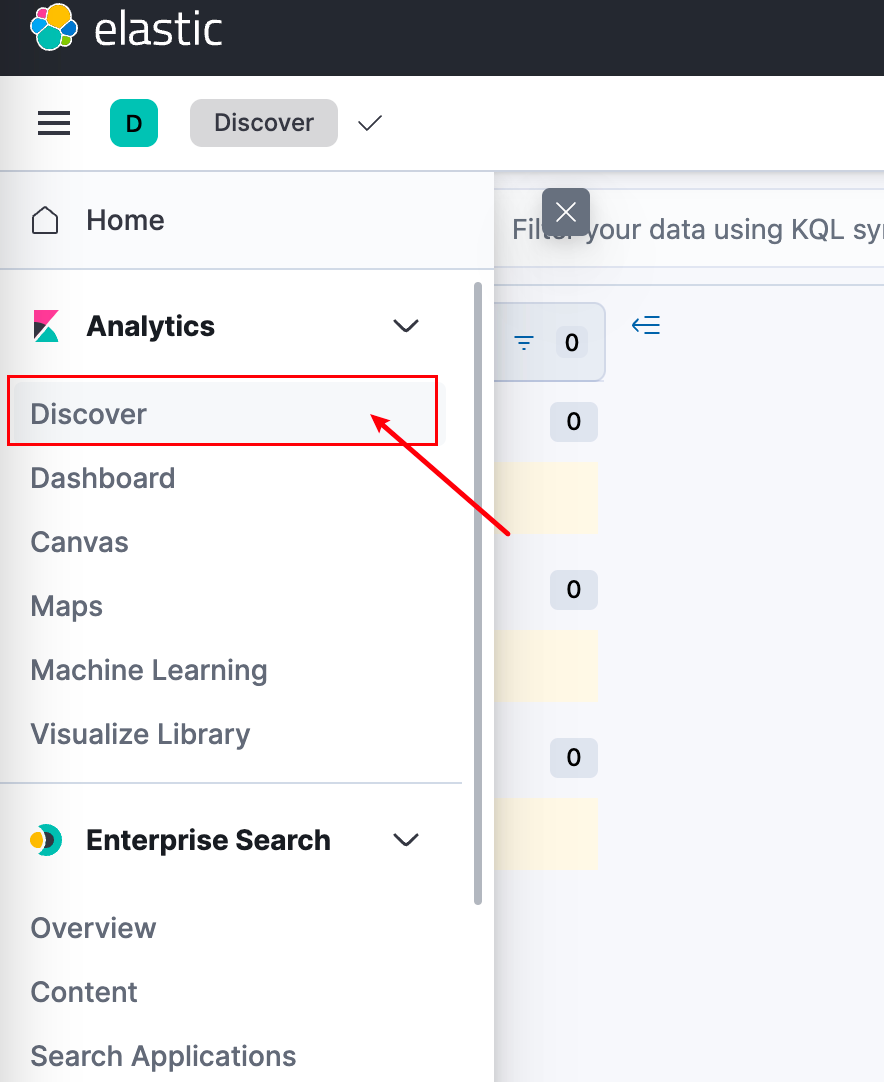
3. 在ES上查看数据
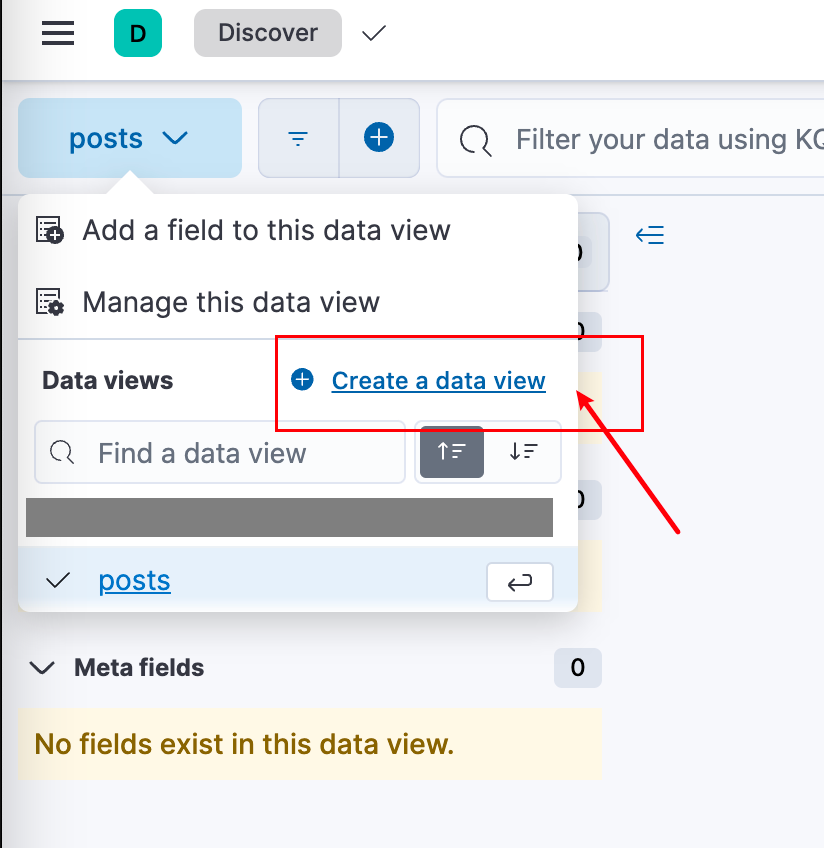
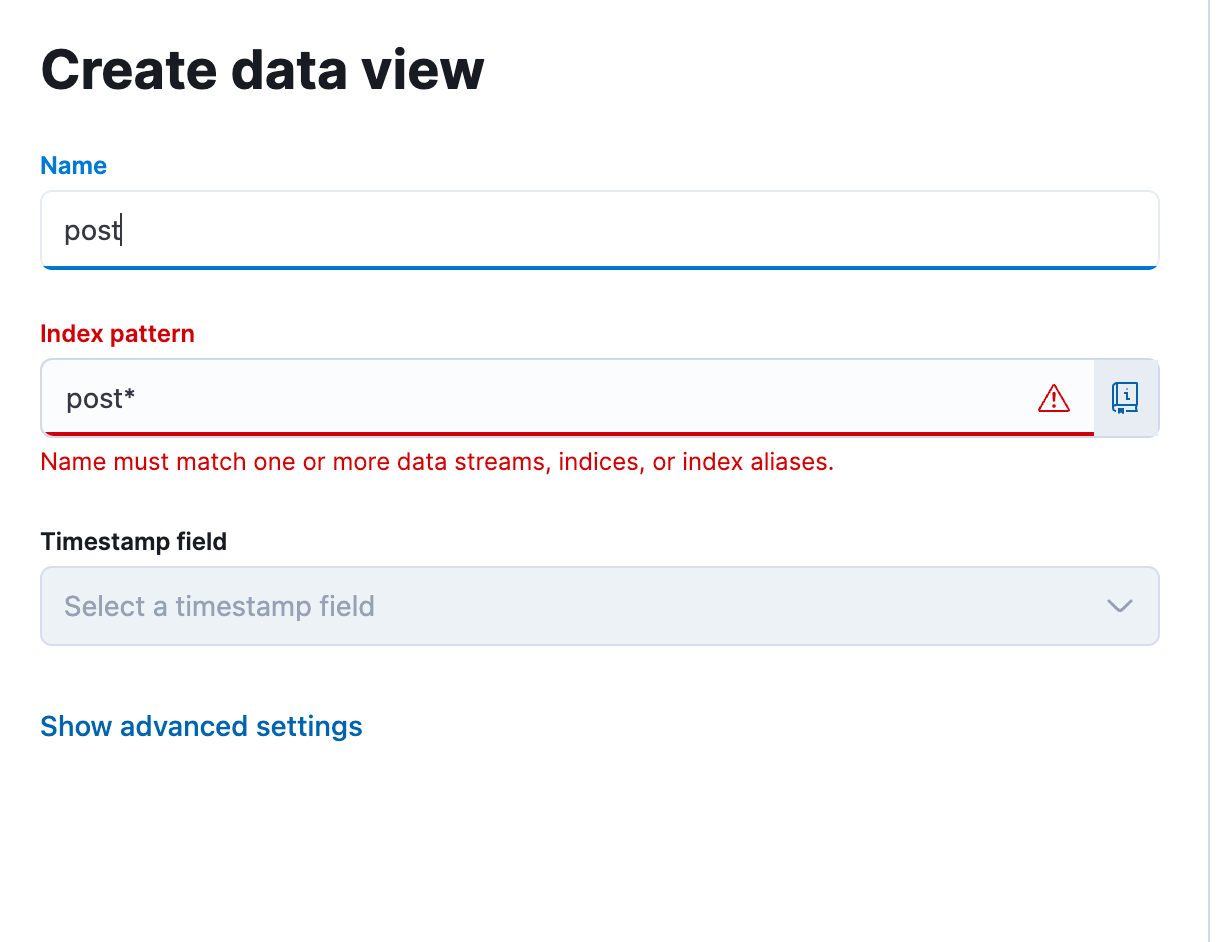
创建DataView
然后
接着保存就行
4 项目详解
4.1 选择Spring Reactive Web 而不是 spring-boot-starter-web。
搭建这个SpringBoot Flux项目时,选择的是Spring Reactive Web,而不用spring-boot-starter-web。
传统的spring-boot-starter-web是MVC架构,也就是model and view,和Spring Reactive有很大的区别。

Spring Reactive最显著的特点是WebFlux框架,它提供了一套用于构建响应式Web应用程序的组件。WebFlux支持两种不同的编程模型:基于响应式流的函数式编程模型和基于注解的反应式编程模型。
所有引入的依赖:
<dependencies>
    <dependency>
        <groupId>org.springframework.boot</groupId>
        <artifactId>spring-boot-starter-webflux</artifactId>
    </dependency>

    <dependency>
        <groupId>org.springframework.boot</groupId>
        <artifactId>spring-boot-starter-data-elasticsearch</artifactId>
    </dependency>

    <dependency>
        <groupId>org.projectlombok</groupId>
        <artifactId>lombok</artifactId>
        <optional>true</optional>
    </dependency>
    <dependency>
        <groupId>org.springframework.boot</groupId>
        <artifactId>spring-boot-starter-test</artifactId>
        <scope>test</scope>
    </dependency>
    <dependency>
        <groupId>io.projectreactor</groupId>
        <artifactId>reactor-test</artifactId>
        <scope>test</scope>
    </dependency>
</dependencies>
其中spring-boot-starter-data-elasticsearch 是连接ES所需要的依赖,Spring也为它创建了单独的文档界面介绍怎么进行使用,在搭建这个项目的时候,很多问题的答案都是在当中进行找到的。
链接:Spring Data Elasticsearch - Reference Documentation
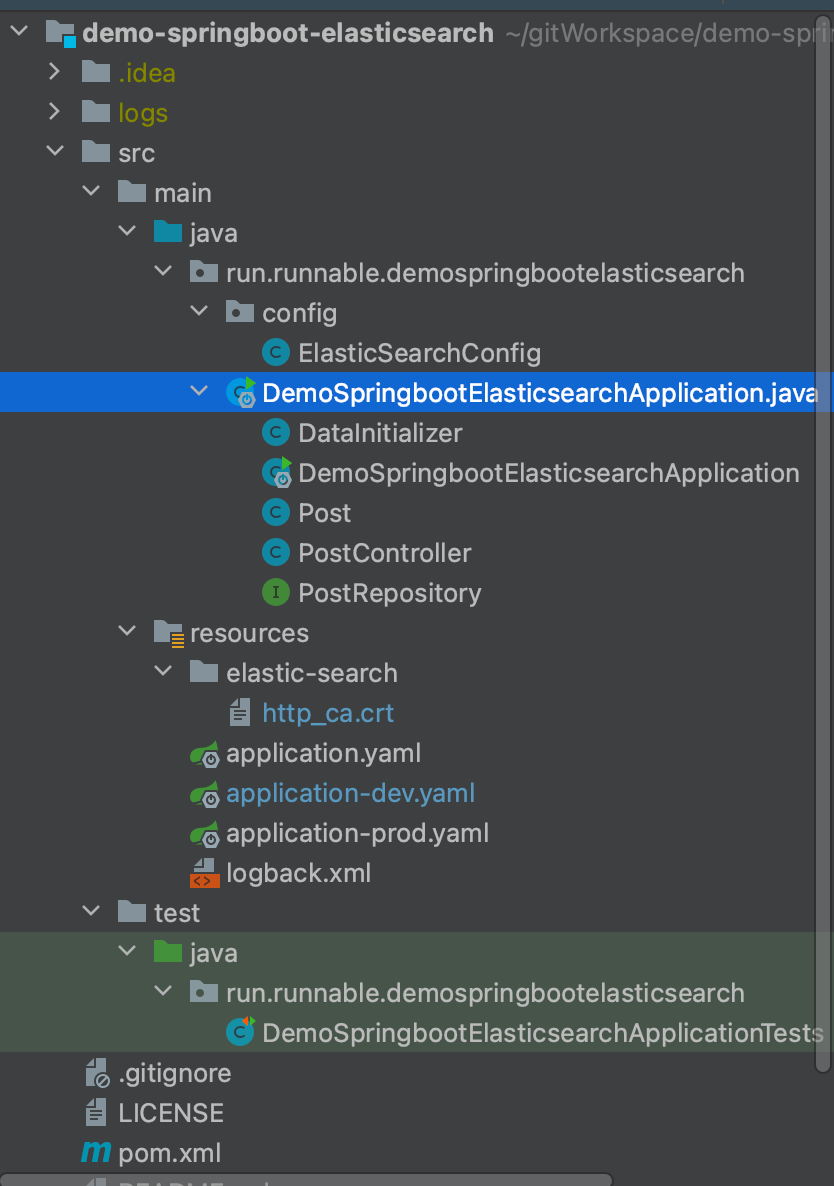
4.2 项目结构
整个项目的结构如下:
.
├── LICENSE
├── README.md
├── logs
│   └── start.log
├── pom.xml
└── src
    ├── main
    │   ├── java
    │   │   └── run
    │   │       └── runnable
    │   │           └── demospringbootelasticsearch
    │   │               ├── DemoSpringbootElasticsearchApplication.java
    │   │               └── config
    │   │                   └── ElasticSearchConfig.java
    │   └── resources
    │       ├── application-dev.yaml
    │       ├── application-prod.yaml
    │       ├── application.yaml
    │       ├── elastic-search
    │       │   └── http_ca.crt
    │       └── logback.xml
    └── test
        └── java
            └── run
                └── runnable
                    └── demospringbootelasticsearch
                        └── DemoSpringbootElasticsearchApplicationTests.java

15 directories, 12 files
项目启动时,会根据启动参数中的-Dspring.profiles.active=xxx 获取指定的配置文件启动,
在ElasticSearchConfig 中创建连接Elasticsearch的对象,也就是ClientConfiguration
4.3 ElasticSearchConfig
这个类继承了ReactiveElasticsearchConfiguration 。
ReactiveElasticsearchConfiguration的主要作用是配置与Elasticsearch的交互,以便在Reactive应用程序中使用Elasticsearch作为数据存储和检索的后端。通过使用此配置类,您可以:
- 设置Elasticsearch的连接信息:可以指定Elasticsearch集群的主机名、端口号、用户名和密码等连接信息。
- 配置Elasticsearch的客户端:可以设置连接超时、读取超时等相关的客户端配置参数。
- 定义ReactiveElasticsearchClient Bean:在配置类中,可以定义一个ReactiveElasticsearchClient的Bean,该Bean充当与Elasticsearch集群进行通信的客户端。
- 设置Elasticsearch的索引配置:可以为不同的实体类定义索引和映射,以及其他与索引相关的配置。
- 集成Spring Data Elasticsearch的Repository:可以通过继承
ReactiveElasticsearchRepository接口来创建Reactive的Elasticsearch Repository,以便在应用程序中进行CRUD(创建、读取、更新和删除)操作。
@Configuration
public class ElasticSearchConfig extends ReactiveElasticsearchConfiguration {
    @Value("${spring.profiles.active}")
    public String env;
    @Value("${elastic.username}")
    public String esUsername;
    @Value("${elastic.password}")
    public String esPassword;
    @Value("${elastic.hostAndPort}")
    public String esHostAndPort;
    @Value("classpath:elastic-search/http_ca.crt")
    private Resource elasticCert;
    @SneakyThrows
    @Override
    public ClientConfiguration clientConfiguration() {
        return ClientConfiguration.builder()
                .connectedTo(esHostAndPort)
                .usingSsl(getSslContext(), (hostname, session) -> true)
                .withConnectTimeout(Duration.ofSeconds(5))
                .withSocketTimeout(Duration.ofSeconds(30))
                .withBasicAuth(esUsername, esPassword)
                .build();
    }

    /**
     * getSslContext
     */
    private SSLContext getSslContext()
            throws CertificateException, IOException, KeyStoreException, NoSuchAlgorithmException, KeyManagementException {

        Certificate ca = CertificateFactory.getInstance("X.509")
                .generateCertificate(elasticCert.getInputStream());

        // Create a KeyStore containing our trusted CAs
        String keyStoreType = KeyStore.getDefaultType();
        KeyStore keyStore = KeyStore.getInstance(keyStoreType);
        keyStore.load(null, null);
        keyStore.setCertificateEntry("ca", ca);

        // Create a TrustManager that trusts the CAs in our KeyStore
        String tmfAlgorithm = TrustManagerFactory.getDefaultAlgorithm();
        TrustManagerFactory tmf = TrustManagerFactory.getInstance(tmfAlgorithm);
        tmf.init(keyStore);

        // Create an SSLContext that uses our TrustManager
        SSLContext context = SSLContext.getInstance("TLS");
        context.init(null, tmf.getTrustManagers(), null);
        return context;
    }
}
在新版的ES中,需要通过ssl连接,所以通过getSslContext 方法构建了sslContext对象放入请求ES的ClientConfiguration ,见这一行:
.usingSsl(getSslContext(), (hostname, session) -> true)
(hostname, session) -> true 是一个可选参数,意味着不校验ES的证书,因为ES的证书是自签的,什么是自签呢?
CA 拥有一个证书(内含公钥和私钥)。网上的公众用户通过验证 CA 的签字从而信任 CA ,任何人都可以得到 CA 的证书(含公钥),用以验证它所签发的证书。
如果用户想得到一份属于自己的证书,他应先向 CA 提出申请。在 CA 判明申请者的身份后,便为他分配一个公钥,并且 CA 将该公钥与申请者的身份信息绑在一起,并为之签字后,便形成证书发给申请者。
如果一个用户想鉴别另一个证书的真伪,他就用 CA 的公钥对那个证书上的签字进行验证,一旦验证通过,该证书就被认为是有效的。证书实际是由证书签证机关(CA)签发的对用户的公钥的认证。 -----------百度百科
而自签的意思就是自己建立CA,然后签发私钥和公钥
你也可以看我之前写的这篇博客了解更多:****从无到有,Netty基于SSL实现信息传输过程中双向加密验证。**
所以当你的代码和ES主机都是在同一台的时候,不配置这个参数也可以,如果在不同的机器,那么就需要加上这个参数意味着不校验ES签发的证书。
关于Sping Reactive中连接ES时更详细的配置,你可以在这里找到:elasticsearch.clients.configuration
4.4 数据初始化
然后在DemoSpringbootElasticsearchApplication 中的DataInitializer 的run 方法创建两条数据。
DataInitializer 因为实现了CommandLineRunner接口,用于在Spring Boot应用程序启动后执行一些特定的任务或代码块。它提供了一种简单的方式,让开发者在应用程序启动后立即执行一些初始化逻辑或任务,比如加载初始数据、执行一些定时任务、初始化配置等
@Component
@Slf4j
class DataInitializer implements CommandLineRunner {
    private final PostRepository posts;
    public DataInitializer(PostRepository posts) {
        this.posts = posts;
    }

    @Override
    public void run(String[] args) {
        log.info("start data initialization  ...");
        final Flux<Post> saveFlux = Flux.just("Post one", "Post two")
							.map(title ->
										Post.builder().title(title).content("content of " + title).build()
							);
        this.posts.deleteAll()
                .thenMany(posts.saveAll(saveFlux))
                .log()
                .subscribe(
                        null,
                        null,
                        () -> log.info("done initialization...")
                );

    }
}
这段代码中通过Flux.just 创建响应式流,通过map方法为其中的对象各自创建Post对象。
然后在deleteAll方法中删除Post对应的ES上索引的所有数据,并insert刚刚创建的Post对象
this.posts.deleteAll().thenMany(posts.saveAll(saveFlux))
那么Post 对象和ES的索引是什么样的映射关系呢?
4.5 Post对象
和大多数的ORM框架一样,可以通过注解直接映射表名和索引名,这里使用的就是@Document 注解映射了ES中的posts 索引,但是呢,通过SpElL表达式动态的获取了项目启动时的-Dspring.profiles.active=xxx 参数,因为作为个人开发者,经常开发环境就是生产环境,只能通过一些名字区分是数据放在不同的表和库中。
如果你对SpEL表达式感兴趣可以看,Spring有个单独的页面告诉我们怎么使用这个。Spring Expression Language (SpEL)
//get the acvtive profile by SpEL Expression
@Document(indexName = "#{ @environment.getActiveProfiles()[0] + '-' + 'posts'}")
@Data
@ToString
@Builder
class Post {
    @Id
    private String id;

    @Field(store = true, type = FieldType.Text, fielddata = true)
    private String title;

    @Field(store = true, type = FieldType.Text, fielddata = true)
    private String content;
}
@Field(store = true, type = FieldType.Text, fielddata = true) 这个Field 则是指定存储在索引中的类型,和一些默认值,当中还有很多可选参数,这里就不一一展开解释了。
所以Post对象提供了和ES索引的映射关系,最后通过PostRepository 插入到ES中,
PostRepository就很简单了,继承了ReactiveElasticsearchRepository,已经实现了默认的一些方法供我们使用,像是save,saveAll,delete等等,因为是响应式流,所以可以随意组合。
interface PostRepository extends ReactiveElasticsearchRepository<Post, String> {
}
到这为止,整个SpringBoot项目的所有内容就是这些了,下一节会说怎么通过filebeat上传log文件到ES进行分析。
最后你可以搭配之前我写的那个使用Jenkins对springboot项目进行docker镜像一键部署,jenkins + docker + springboot一键部署到服务器,更是畅快,我就是这么做的。
下一节:【三】实战:SpringBoot与Elasticsearch完美融合,WebFlux响应式编程实现
参考内容
boot-data-elasticsearch
Spring Data Elasticsearch - Reference Documentation